The page
HDR on line of this type allows you to directly merge two or three
differently exposed photos to cope with scenes characterized by a strong difference in brightness between
the various parts. However, when the brightness difference is very large, three photos may not be enough, also because
the difference in exposure must not normally be greater than +/- 1.5 stops. The use of images with
too different exposures creates evident artifacts in the final image.
Because changing the algorithm so to can include four, or even five, starting pictures would be
very burdensome and complex, we tried to work around the problem by using multiple cascade steps. In a first step
the starting photos are merged in groups of three so as to obtain two intermediate photos, one obtained starting from
the three darker pictures and one starting from the three brighter pictures. The two pictures obtained in this way
are then merged together.
The results that can be achieved in this way have proved satisfactory.
Below is an example illustrated in the detail.
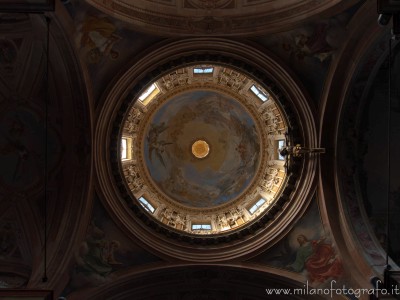
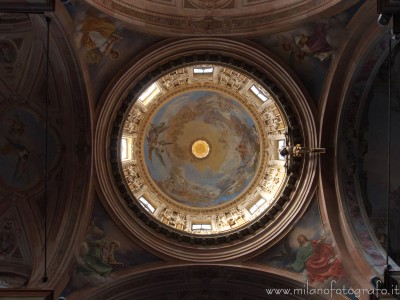
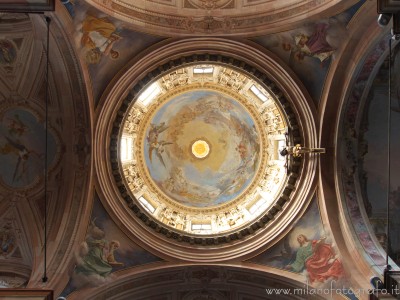
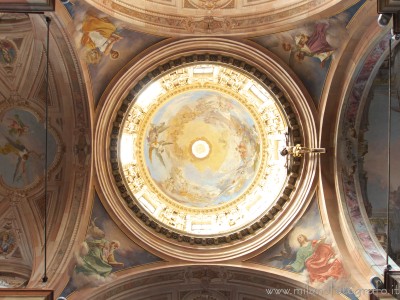
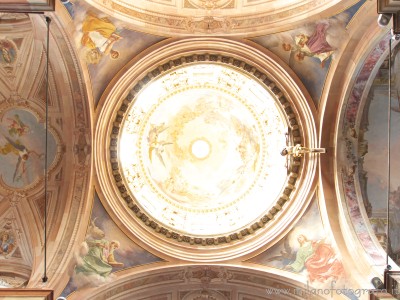
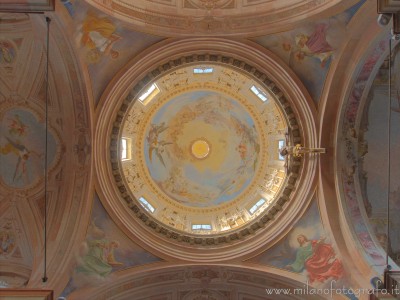
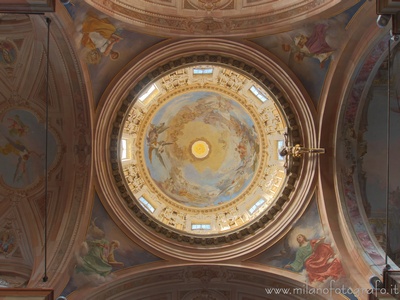
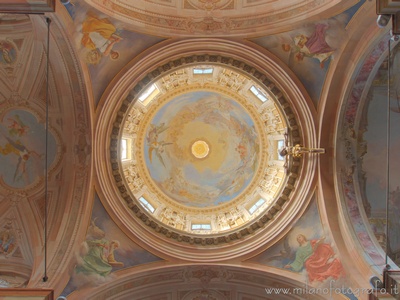
Here the starting photos (click on the photos to view them in full format):
|
|
|
Picture -2: 1/25
|
Picture -1: 1/13
|
Picture 0: 1/6
|
|
|
| |
Picture +1: 1/3
|
Picture +2: 1/2
|
|
If you want to get the final result in just one step, you are forced to discard two pictures. To make an homogeneous choice respect
at the available exposure scale we use the photos -2, 0 and +2.
The immediate result is the following if the adaptive gradient is used:
Fusion of three pictures, adaptive gradient, immediate result.
By optimazing colors, luminosity and contrast with Faststone it is possible to obtain what follows (on the right a detail):
Fusion of three pictures, adaptive gradient, finale result.
If you look at the image at full size, horrible artifacts that ruin it completely become evident.
To try to overcome the problem you can try to use a different gradient. With the linear gradient a lot of details in
the less contrasted areas get lost and we don't even publish the result.
With the spherical gradient, the less illuminated areas remain very dark and a lot of details are lost in the area of the window frames:
Fusion of three pictures, spherical gradient, immediate result.
Fusion of three pictures, spherical gradient, finale result (right a detail).
With the mixed interpolative gradient, details are not lost and brightness is adequate everywhere, but the image is very noisy,
because this method of processing, unlike the others, increases the noise, instead of decreasing it:

Fusion of three pictures, interpolative gradient, immediate result.
Fusion of three pictures, interpolative gradient, final result (right to detail).
The alternative is to arrive at the final result in two steps and to use all the photos.
In a first step the three darkest photos are merged on one side and the three brightest photos on the other (one pictures
is therefore used in both cases) to give the intermediate images. The two photos you get then come
in turn merged to give the final photo in its immediate version.
Also in this case two alternative procedures have been tested:
1. Use of the adaptive gradient to obtain intermediate images
Fusion of the two thus obtained photos using the linear gradient (the most suitable gradient, because in the other cases the final photo
is characterized by a too marked microcontrast).

Fusion of two intermediate photos obtained with adaptive gradient, linear gradient, immediate result
Fusion of two intermediate photos obtained with adaptive gradient, linear gradient, final result (right a detail)
2. Use of the interpolative gradient to obtain intermediate images
Fusion of the two thus obtained pictures using the linear gradient (the most suitable gradient, because in the other cases the final photo
is characterized by a too marked microcontrast).
Fusion of two intermediate photos obtained with adaptive gradient, linear gradient, immediate result
Fusion of two intermediate photos obtained with adaptive gradient, linear gradient, finale result (right a detail)
As you can see, both results are better than those obtained by merging three photos in a single step.
By using the adaptive gradient to get the intermediate photos you get a better detail, but at the expense of
the presence of some artifacts. Using the mixed interpolation gradient the image is cleaner but less detailed.
In summary, it can therefore be stated that the two steps approach allows the use of a larger number of starting pictures
on a wider exposure scale and allows to get better results in the case of extremely contrasted scenes,
without having to create a dedicated algorithm.
Note that with the same approach you could also merge six pictures (going through two separated groups by three photos) or possibly even
up to 9 photos (three separate groups of three photos). Although personally I have not yet done practical tests.